
Making Your Own Graphic Tees Like a Pro
Let's be real—you've got a genius t-shirt idea rattling around in your head that the world desperately needs to see. Making your own graphic tees is all about grabbing a blank shirt, dreaming up a killer design, and bringing it to life.
It’s the best way to wear your wit on your sleeve. Literally. And trust us, once you nail it, you'll be unstoppable.
Your Guide to Making Hilarious Graphic Tees
So, you're ready to jump into the world of custom apparel. Awesome. You’re not just making a shirt; you’re crafting a walking billboard for your personality.
No more scrolling endlessly for relatable shirts that almost get it right. You're taking the reins and creating something that is 100% you, whether it's a perfectly sarcastic mom life shirt or an inside joke meant for an audience of one.
This isn’t just a fun weekend project—it’s a massive, booming industry. The global custom t-shirt printing market was valued at around USD 6.09 billion in 2025 and is on track to hit a wild USD 13.72 billion by 2032. That explosion is all thanks to people like you who want unique ways to express themselves. You can get the full scoop on the custom t-shirt market and its growth.
Why Bother with DIY Tees?
Okay, let's get down to it. Why spend your precious free time making a graphic tee when you could just buy one? Well, a few excellent reasons come to mind.
- Total Creative Freedom: You’re the boss. The font, the color, the placement—every last detail is under your command. No more settling for "close enough."
- One-of-a-Kind Style: The odds of bumping into someone wearing the exact same obscure pop-culture reference you just printed are basically zero. Your closet becomes a collection of true originals.
- The Perfect Gift: A custom tee is a next-level present. It shows you actually put some thought into it and is way more personal than another gift card.
- Potential Side Hustle: That's right. Your new hobby could easily become a business. If all your friends are asking where you got your funny t-shirts, you might be onto something big.
What to Expect from This Guide
We’re cutting through the fluff and giving you a straight-up roadmap. We'll cover everything you need to know, from brainstorming hilarious ideas that actually land to picking the right printing method for your project and budget.
Think of this as your official permission slip to become a t-shirt mogul—or, at the very least, to finally make that one shirt you've been joking about for years. You've earned it.
We’ll break down the pros and cons of different techniques, share some hard-earned tips to help you avoid rookie mistakes, and get you ready to turn that brilliant idea into a comfy, wearable reality. Let's get printing.
Finding T-Shirt Ideas That Actually Get Laughs
Alright, let's get real. A legendary graphic tee starts with a legendary idea. But how do you go from a random funny thought you had in the shower to a design that actually lands on a shirt? This is where the magic happens, and trust us, it’s less about being a professional comedian and more about knowing where to look for gold.
Forget scrolling through the same three tired memes everyone's already seen. The best novelty tees are born from real life. Think about the weird things your toddler says, the passive-aggressive notes in the office kitchen, or that one inside joke with your best friend that never fails to make you ugly-laugh. Those are the moments that create truly relatable shirts.
Tap into Your Inner Comedian
You don't need a Netflix special to come up with hilarious t-shirt ideas. You just need to pay attention. The world is a weird, wonderful, and ridiculously funny place.
Your next great idea could be hiding in plain sight:
- Your Daily Grind: What’s the most absurd part of your job? Is there a phrase everyone at your office repeats? "Per My Last Email" has been done to death, but what about something more specific to your world?
- The Chaos of 'Mom Life': The relentless cycle of snacks, laundry, and finding LEGOs with your bare feet is a comedy goldmine. We're talking phrases like "Powered by Caffeine and Toddler Negotiations" or "My Kid's Snack Dealer."
- Quirky Observations: Ever notice something bizarre that everyone else seems to ignore? Maybe it's the way squirrels stare at you like they know your secrets. A simple "I Don't Trust Squirrels" tee is instantly hilarious to the right person.
The goal is to find a niche. The more specific and personal the joke, the harder it will hit with the people who get it.
What Works on a Shirt vs. What Works in a Text
Here’s a hard truth: not every funny joke makes a good t-shirt. A long, complicated story might kill at a party, but on fabric? It’s just a cluttered mess. When it comes to making your own graphic tees, simplicity is your best friend.
A great shirt design has to be glanceable. Someone should be able to read it and get the joke in about three seconds while walking past you in the grocery store.
The best designs are like a good punchline—short, punchy, and they hit you right away. If you have to explain it, it’s probably not working.
Think bold, readable text and simple graphics. A clever phrase is often more powerful than a complicated illustration. Need some inspiration on what kind of humor lands well? Check out our breakdown of some of the funniest t-shirts that'll make you laugh out loud to see what we mean.
Design Tips for People Who Can't Draw
Feeling intimidated because you can't draw a straight line? Don’t be. You absolutely do not need an art degree to make a killer shirt.
Focus on these basics:
- Font is Everything: The font you choose sets the entire mood. A bubbly, rounded font feels playful, while a sharp, blocky font feels bold and sarcastic. Play around with different pairings on a free tool like Canva.
- Readability First: Whatever you do, make sure people can actually read it from a distance. Avoid super thin, loopy fonts that are impossible to decipher. Test your design by shrinking it down on your screen—if you can’t read it, nobody else can either.
- Embrace Negative Space: Don't cram your design from collar to hem. White space (or whatever color your shirt is) is your friend. It helps your main elements pop and gives your words and images room to breathe.
I always recommend sketching out ideas on paper first, even if it’s just stick figures and messy handwriting. It helps you figure out placement and scale before you ever touch a computer, saving you a ton of frustration down the line.
Choosing Your T-Shirt Printing Method
Alright, you’ve got a killer design ready to go. Now for the fun part: figuring out how to get that masterpiece off your screen and onto a soft, wearable tee.
Let's be real, not all printing methods are created equal. Picking the right one is the difference between a shirt that looks pro and one that looks like a tragic DIY fail. Think of it like cooking a steak. You can grill it, pan-sear it, or... microwave it. They all technically cook the meat, but the results are worlds apart. We're here to make sure your shirt is perfectly grilled, not sadly nuked.
Don't get overwhelmed. This decision really just boils down to your budget, how many shirts you're making, and the look you're going for. This handy little chart gives you a quick visual for thinking through your brilliant idea.
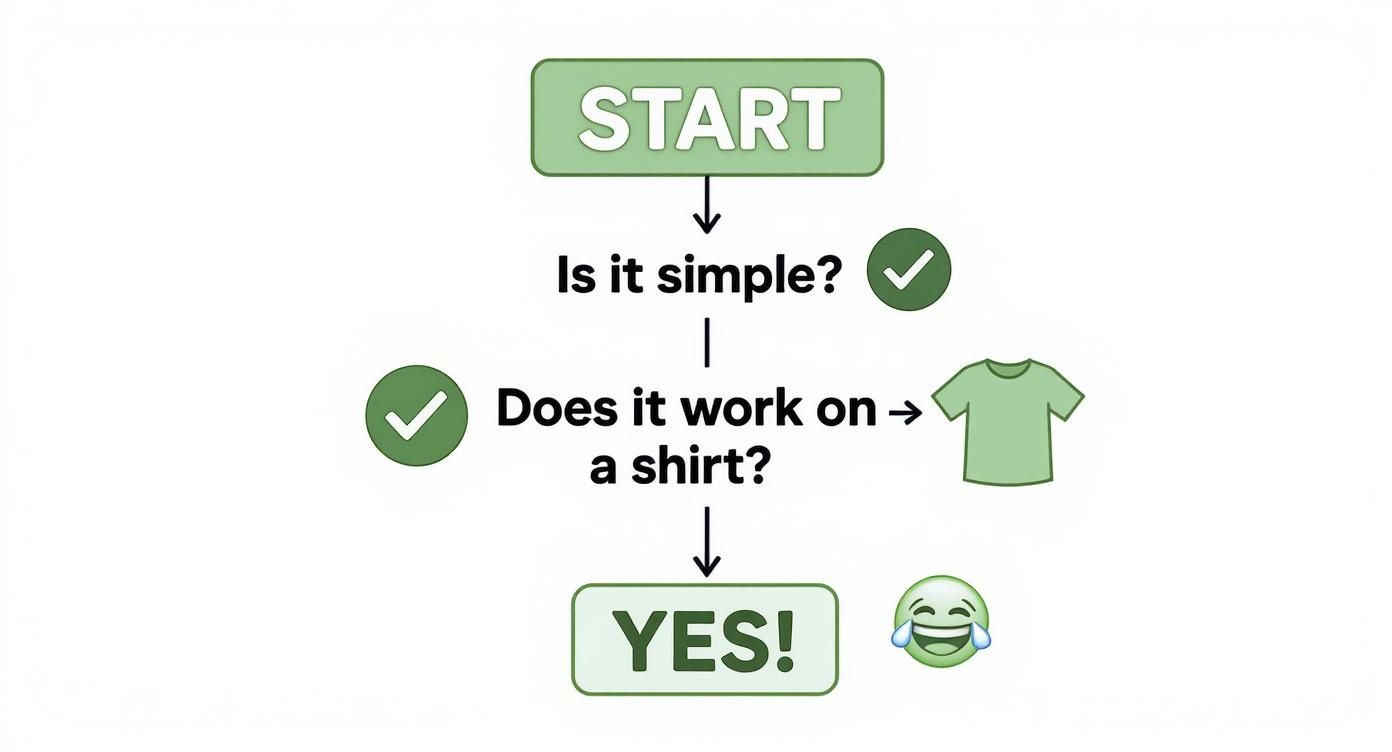
As you can see, the best ideas for tees are often the simplest ones. A design that translates well to fabric is a design that just works.
Before we dive deep into the step-by-step for each method, let's get a quick overview of your options.
T-Shirt Printing Methods Compared
Struggling to decide? This table breaks it all down to help you pick the right tool for the job.
| Method | Best For | Cost Per Shirt | Durability | DIY Friendliness |
|---|---|---|---|---|
| Screen Printing | Bulk orders (50+), simple/bold designs with few colors | Low (for large runs) | Very High | Low (messy setup) |
| DTG | Detailed, full-color designs, photos, small batches | High (for single shirts) | High | Low (needs pro gear) |
| Heat Transfer Vinyl | Bold text, logos, personalizing single items, names/numbers | Medium | High | High (with a cutting machine) |
| Iron-On Transfers | Quick one-offs, kids' crafts, last-minute projects | Very Low | Low | Very High (just need an iron) |
Each one has its place, whether you're starting a brand or just making a joke shirt for a friend's birthday.
Screen Printing: The Old-School Classic
Screen printing is the OG of the t-shirt world. It’s how most of the graphic tees you already own were probably made. The process involves pushing ink through a stenciled mesh screen directly onto the fabric.
It’s fantastic for bold, vibrant colors that sit right on top of the shirt, giving it that classic, slightly raised feel. Because setting up the screens takes some work, it's the undisputed champion for printing in bulk. If you're making 50 identical shirts for a bachelorette party or your beer league softball team, this is your go-to.
The downside? For a single, one-off shirt, it’s a lot of messy, time-consuming setup for just one print.
Direct-to-Garment (DTG): The Modern Marvel
Think of Direct-to-Garment (DTG) as a giant, specialized inkjet printer made for clothes. It sprays water-based inks that soak directly into the cotton fibers of the shirt. This means you can print incredibly detailed, full-color designs—like photographs or complex illustrations—with amazing precision.
The ink becomes part of the fabric, so the final print feels incredibly soft and breathable, with none of that plastic-y feel. It’s perfect for one-off projects or small batches since there’s almost no setup time. This is the tech we use for many of our Laugh Riot Tees because it captures every witty detail perfectly. If you want to dive deeper, we have a whole guide that explores what Direct-to-Garment printing is all about.
The catch? It works best on 100% cotton and can get pricier per shirt than screen printing if you're doing a huge run.
Heat Transfer Vinyl (HTV): The DIY Darling
Heat Transfer Vinyl, or HTV, is a DIY favorite for a reason. You use a machine like a Cricut or Silhouette to cut your design from a sheet of special vinyl. Then, you use a heat press (or just a regular home iron, in a pinch) to stick it onto the shirt.
HTV is awesome for creating crisp, clean, and bold designs like text or simple logos. It sits on top of the fabric and has a smooth, durable finish. It's the perfect method for personalizing jerseys with names and numbers or creating those sharp, relatable shirts with punchy sayings. You have total control, making it ideal for whipping up just one or two shirts at home without a huge mess.
Iron-On Transfers: The Quick and Easy Entry
Remember those kits from the craft store? That’s the iron-on transfer method. You just print your design onto special transfer paper using a regular home printer and then—you guessed it—iron it onto your shirt.
This is by far the fastest, cheapest, and most accessible way to make a custom tee. It’s perfect for a last-minute party shirt or a fun afternoon project with the kids.
But let’s be honest: the quality and durability just don't hold a candle to the other methods. The design often feels stiff and is prone to cracking and fading after just a few washes. It's a great starting point, but probably not the best choice for your future t-shirt empire.
No matter which path you choose, you're joining a massive movement. The custom t-shirt printing industry is projected to hit a staggering USD 10 billion by 2030. That’s a whole lot of people deciding they’d rather wear their own jokes than someone else’s.
So, what's it gonna be? Are you a bulk-producing screen printer, a detail-obsessed DTG artist, a hands-on HTV crafter, or a quick-and-easy iron-on enthusiast? Your mission, should you choose to accept it, is to pick the method that best fits your masterpiece.
The DIY Guide to Heat Transfer Vinyl (HTV)
Alright, let's get down to business. If you've ever looked at a funny t-shirt and thought, "I could totally make that," then Heat Transfer Vinyl (HTV) is about to become your new best friend. It’s the undisputed champ for DIY shirt making—way less messy than screen printing and a huge step up from those flimsy iron-on sheets from the craft store.
This is your chance to turn that sarcastic one-liner rattling around in your head into a wearable masterpiece. Forget complicated setups. This method is all about a little heat, a bit of precision, and the pure, unadulterated satisfaction of peeling back that plastic to reveal your creation.
Prepping Your Design for the Cut
Before you can press anything, you have to prep. The journey to your custom graphic tee begins on the computer. You'll need a cutting machine—think Cricut or Silhouette—which is basically a tiny, super-precise robot that carves your design out of a sheet of vinyl.
First, you'll load your design into the machine's software. This can be a witty phrase you typed up or a cool graphic you found. Now, here comes the most important tip I can possibly give you, one that will save you from a world of frustration: you must mirror your image before you cut.
I'm saying it again because we've all made this mistake exactly once. Mirror it. Flip it horizontally. If you don't, your text will be backward when you press it on the shirt. Trust me on this.
Once your design is mirrored and sized just right, send it to the cutter. Slap your HTV sheet onto the cutting mat with the shiny side down. That shiny part is the carrier sheet that holds everything together; the machine needs to cut the dull, adhesive side.
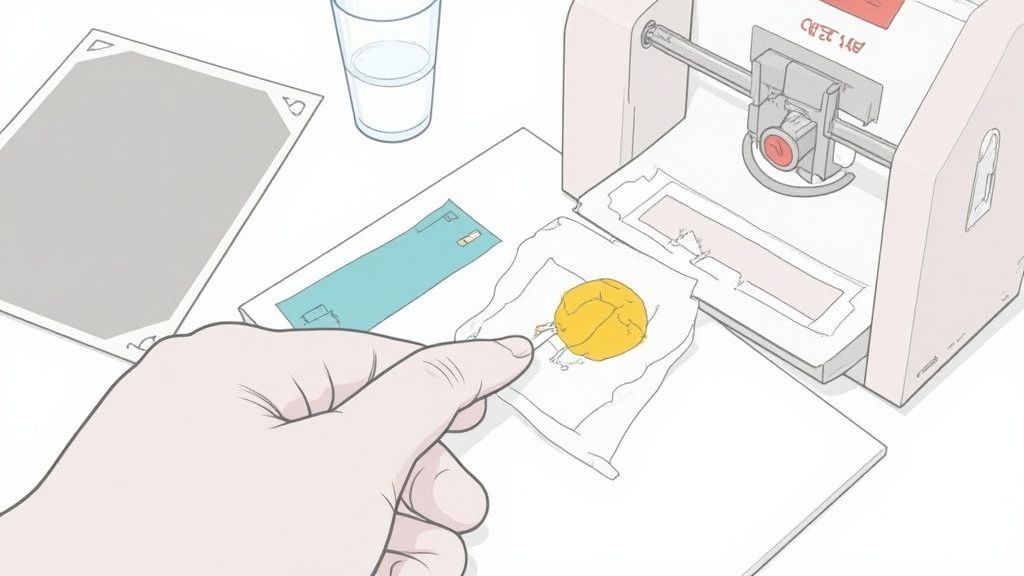
The Magic of Weeding Your Vinyl
Next up is the part that’s either your personal zen garden or your own special kind of hell: weeding. Weeding is the oddly satisfying process of removing all the little bits of vinyl that aren't part of your design. You'll use a tiny hook tool (called a weeder) to pick out the insides of letters like 'o' and 'p' and peel away the excess vinyl around your graphic.
Seriously, take your time here. Put on a good podcast, pour a beverage, and get in the zone. Rushing is how you accidentally yank up a period or the dot on an 'i'. When you're finished, the only thing left on the clear, sticky carrier sheet should be your perfectly cut, ready-to-press design—facing the right way, this time.
This is the moment you step back and admire what you've done. It's a tangible piece of your humor, prepped and ready for its forever home on a comfy tee. It’s a beautiful thing.
Once you’ve weeded your design, you're ready for the main event. But remember, the canvas matters just as much as the art. A cheap, scratchy shirt will make even the greatest design feel… well, cheap. To see what we mean, check out our guide on why soft, high-quality cotton shirts are the real MVP of your closet.
Getting the Perfect Press
Alignment is everything. Nothing screams "I made this in my basement" like a crooked design. To avoid this, fold your shirt in half lengthwise and give it a quick press with your iron or heat press. This creates a faint centerline to guide you. You can do the same with your HTV design by folding it in half (sticky side out) to make a matching crease.
Line up those creases, and boom—a perfectly centered design. Use a ruler to make sure it's the right distance from the collar. A good rule of thumb is about 2-3 inches down for an adult shirt.
Now, let's bring the heat.
- If you're using a heat press: This is the gold standard. It gives you perfectly even heat and pressure, which is crucial for making the vinyl stick for good. Set it to the temp recommended for your vinyl (usually around 305-320°F) and press for 15-20 seconds.
- If you're using a home iron: You can totally make this work. Just turn off the steam and crank it to the cotton/linen setting. Press down on your design with firm, even pressure. Don't slide the iron around like you're smoothing a wrinkly collar. Press one section for 15-20 seconds, then lift and press the next until the whole design is done.
Troubleshooting Common HTV Fails
Things go wrong sometimes. Don't panic. Most HTV problems are totally fixable.
Here’s a quick guide to common disasters:
- The vinyl won't stick: Nine times out of ten, this is a pressure issue. You didn't press hard enough or long enough. Put a Teflon sheet or parchment paper over the design and give it another press with more muscle.
- It’s peeling after one wash: This is another heat and pressure problem. The adhesive never fully melted into the fabric fibers. Unfortunately, once it's been washed, it's tough to fix. Next time, add a few more seconds to your press time and really lean into it.
- You melted the vinyl: Whoops. Your heat was way too high. Every type of vinyl has a temperature sweet spot. Glitter HTV, for instance, often needs a higher temp than the standard stuff. Always, always check the manufacturer's instructions.
With a little practice, you'll be cranking out professional-looking novelty tees and funny t-shirts like you've been doing it for years. Now go turn that blank shirt into a statement piece.
Keeping Your Custom Tee Looking Fresh
You did it. You wrestled with vinyl, conquered the heat press, and brought a masterpiece into the world. Now, let’s make sure your brilliant, witty creation doesn’t fade into oblivion or shrink into a doll-sized shirt after one wash.
A little TLC goes a long way.
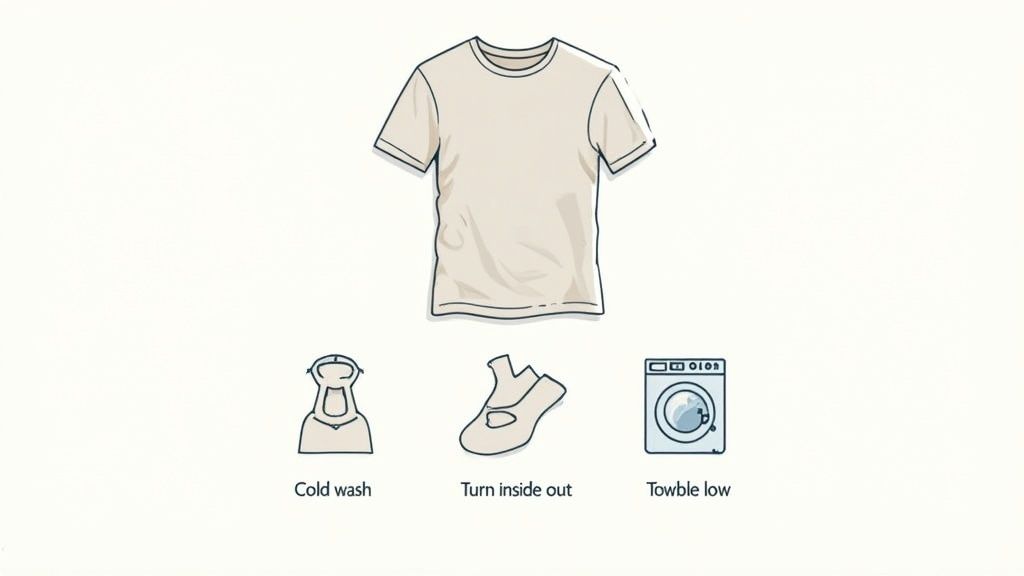
The first rule of custom tee club? Turn that sucker inside out before it ever touches the washing machine. This simple move protects your perfectly pressed design from the abrasive chaos of the laundry cycle, preventing cracking and peeling.
Next, channel your inner polar bear and embrace the cold. Hot water is the mortal enemy of your tee’s color and the design itself. For HTV, it can weaken the adhesive; for ink, it'll cause the vibrant colors to fade faster than your New Year's resolutions.
The Do's and Don'ts of Laundry Day
Let’s bust some common laundry myths and get straight to what works. Following these simple rules will give your custom and store-bought novelty tees a long, happy life.
- DO use a mild detergent. Harsh chemicals and bleaches are a definite no-go. They'll eat away at the design.
- DON'T use fabric softener. It might sound like a good idea, but it can degrade the adhesive on vinyl designs, causing them to peel away like a bad sunburn.
- DO wash with similar colors and textures. Avoid throwing your soft tee in with a load of zipper-filled jeans or rough towels. It's just asking for trouble.
- DON'T even think about that high-heat dryer setting. The absolute best way to dry your tee is to hang it up or lay it flat. If you absolutely must use a dryer, use the lowest heat setting possible.
A great design deserves to last. Treating your custom tee with a little respect is the best way to ensure your humor stays fresh, wash after wash.
For a deeper dive into preserving your entire collection, check out our complete guide on how to wash graphic tees and keep them looking brand new. A little care ensures your statement piece keeps making its statement for years.
Skip the Mess & Let Us Handle It
Alright, let's have an honest chat. We just went through all the ways you can make your own graphic tees, and it’s a blast. But let's also be real about finding tiny, heat-transfer vinyl scraps stuck to your socks for the next two weeks.
DIY is awesome, but sometimes you just want the hilarious shirt without the learning curve. We get it. Sometimes, the best project is letting someone else do it for you.
At Laugh Riot Tees, we live for this stuff. We obsess over finding the softest, most comfortable shirts that feel like an old favorite from day one. Then we print them with fresh, funny designs that hit just right.
Best part? Shipping is always free, and we drop new designs weekly so there's always something to make you laugh.
Find Your New Favorite Shirt
Why spend your weekend covered in ink when you could be wearing a perfectly printed, insanely comfortable shirt instead? Your only job is to find a design that makes you laugh so hard you snort.
Your Burning Tee Questions, Answered
Alright, so you're ready to dive into making your own graphic tees. Awesome. But as soon as you start, a thousand little questions pop up. Let's get the big ones out of the way so you can spend less time second-guessing and more time creating.
What's The Absolute Cheapest Way to Make Just One Tee?
If you want a single, one-off shirt and your budget is basically "the change in my car's cupholder," your go-to is iron-on transfer paper. Seriously. You can get a pack for less than $15, print your masterpiece on a regular inkjet printer, and iron it onto a blank shirt.
Now, let's be real: this isn't going to be the most durable shirt in your closet. It won't have the pro feel of HTV or screen printing. But for pure speed and rock-bottom cost? It's the undisputed champ for getting an idea out of your brain and onto fabric tonight.
What Kind of Fabric Is Best for Printing?
Great question, and it really hinges on what printing method you’re using. For most techniques, especially DTG and screen printing, 100% cotton is the GOAT. It soaks up ink like a sponge, giving you those rich, pop-off-the-shirt colors.
But for things like Heat Transfer Vinyl (HTV) and sublimation, polyester blends (like a 50/50 cotton/poly mix) are fantastic. They give the shirt a ridiculously soft feel and shrink less. It's why we’re obsessed with using premium, buttery-soft cotton blends for our relatable shirts—they feel incredible and hold a print like a champ.
Do I Need Expensive Software to Create a Design?
Heck no! While the design snobs might be flexing their Adobe Illustrator skills, you can make a killer design with tools that are 100% free.
You don't need a fine arts degree to make a shirt that gets a laugh. Honestly, some of the most iconic and funny t-shirts are just clever text in a great font.
Canva is so easy to use it almost feels like cheating. It’s loaded with fonts and graphics to get you rolling. If you want a little more muscle, Photopea is a free, web-based tool that mimics Photoshop. Just focus on a witty phrase or a simple graphic—the humor is what makes it work.
How Do I Stop My Design from Cracking and Peeling?
Ah, the ultimate nightmare for any DIY tee maker. The two main villains responsible for wrecking your designs are heat and agitation. Your washer and dryer are not your friends here.
To keep your creation looking brand new, always wash your custom tees inside out, in cold water, and on the gentlest cycle you’ve got. But the most important rule? Avoid the high heat of a tumble dryer like the plague. Hang it up to air dry or, if you must, tumble dry on the absolute lowest, wimpiest heat setting. This one simple habit protects the adhesive and ink, giving your masterpiece a long and glorious life.
Feeling inspired but maybe also a little… lazy? We get it. Skip the DIY mess and let the pros at Laugh Riot Tee's handle the printing.
Article created using Outrank