
How to Stretch Cotton Shirts Safely at Home (No Tailor Needed!)
Let’s be real—you just pulled your favorite funny t-shirt out of the dryer and it’s plotting a hostile takeover of your wardrobe by turning into a crop top. We get it: you’ve earned those novelty tees and mom life shirts, and you want them to fit like a dream, not a choke hold. Grab your spa slippers (or just stay in your bare feet) and let’s stretch those cotton fibers back to glory, all without upgrading your tool arsenal.
Essential Cotton Shirt Stretching Techniques
We’ve all been there after laundry day: that snug chest or hem on your once-comfy relatable shirt is giving you the side-eye. Here’s how I tackle it at home, whether it’s a cheeky novelty tee or your go-to mom life shirt.
Warm Soaking To Loosen Fibers
Fill your sink or tub with comfortably warm water—think Goldilocks, not boiling lava. Slide the shirt in, press it down so it’s fully submerged, and let it lounge for 20 minutes. This is the VIP spa treatment that softens the cotton, making it pliable without risking a fashion emergency.
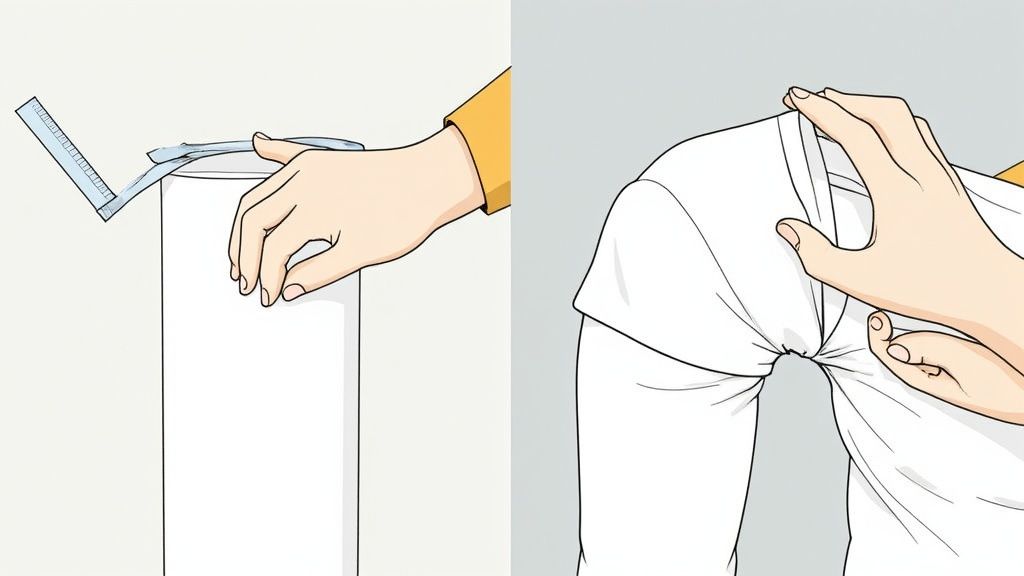
Gentle Stretching To Rediscover Fit
Shirts hate a good wringing, so press out excess water gently. Lay the damp tee flat on a surface and then:
- Grip both sides at chest height and ease outward until you feel a friendly tug—not a tear.
- Zero in on sleeves or shoulder seams that are acting clingy.
- Use a ruler (or a couple of dollar bills) to see if you’re gaining width or length.
Small, even tugs keep thin-spot drama to a minimum. Think of it as stretching out your grandma’s ancient yoga pants—slow and steady wins the race.
Flat Drying To Lock In Shape
Once you’ve teased your tee back to shape, transfer it to a drying rack or a clean board. Pin the edges or weigh down corners with heavy books—your shirt deserves a spa day, too. Flat drying is non-negotiable; hang-drying tends to backslide on progress faster than you can say “shrinkage.”
Summary Of Stretching Methods
Below is your cheat sheet for cotton shirt stretching hacks—so you know what you’re signing up for before you get started.
| Method | Moisture Level | Applied Stretch % | Retention % |
|---|---|---|---|
| Warm Soak | Damp | 10–20% | 70–80% |
| Steam Iron | Slight Moisture | 5–15% | 60–75% |
| Conditioner Wash | Moist | 8–18% | 65–78% |
Experiment with each to find your sweet spot. Some tees only respond after a steam iron spa, while others come alive in a conditioner bath.
Consistent, gentle tension is your best defense against awkward thin spots and uneven stretches.
Still feeling collar or sleeve sass? Repeat targeted stretches in small increments. You can usually reclaim up to 20% of your tee’s original size—no fancy gadgets required.
Now grab that favorite shirt and give it the at-home spa treatment it deserves. Your wardrobe (and your grin) will thank you.
Understanding Cotton Dimensional Change
Before you Hulk out on your snug tee, it helps to know why cotton shrinks and how its fibers love moisture and heat. Cotton’s naturally thirsty: it swells when wet and tightens as it dries.
- Water softens cellulose bonds
- Heat encourages fibers to bounce back
- Agitation in the wash tightens those loops
- Knit density dictates how much give you’ve actually got
Fiber Structure And Moisture
Cotton’s cellulosic fibers have hydroxyl groups that attract water like they’re at a VIP pool party. Once damp, hydrogen bonds loosen and loops can slide around. Pull a damp tee, and those curly looped yarn strands stretch neatly under gentle tension. As moisture evaporates, fibers lock into the new shape—often smaller and firmer.
- A well-loved vintage rock band tee shrank nearly 1" in length after a warm wash
- A lightweight “mom life” shirt lost about 7% off its chest width in a hot dryer
Fabric Weight And Construction
Heavier cotton usually shrugs off shrinkage better than its lightweight cousins. A 10 oz heavyweight tee might only pull in 2–4%, while a flimsy 4 oz novelty tank can shrink 6–8% on a hot tumble.
undefined
undefined
| undefined | undefined |
|---|---|
Pro tip: fabric weight = shrink responsibility.
Knit Vs Woven Behavior
Knits and weaves are like cats and dogs—super different. Knitted tees tighten via loops; you’ll see visible shrinkage. Woven fabrics hold their ground unless you pull them diagonally.
- Knit compaction can rob you of fit and length
- Woven fabrics resist most change across both warp and weft
Pre Treatment And Finishes
Manufacturers get creative to minimize post-wash surprises with:
- Sanforization that caps shrink to 1–3%
- Mercerization for smoother, stronger fibers
- Resin treatments for dimensional stability
- Enzyme washes to pre-soften and preshrink
Check out our guide to choosing stable tees: https://laughriottees.com/blogs/news/best-fabric-for-t-shirts
Cotton’s still boss in global shirts—accounting for roughly 24–30% of textile consumption in the early 2020s. Home laundering typically causes about 2% to 8% linear shrinkage. Learn more from the Statista report.
Humidity And Storage
Even your closet’s air can mess with shirt size. High humidity encourages subtle swelling, while bone-dry conditions let fibers tighten.
- Store tees in cool, dry spaces
- Keep moisture at bay to hold the shape you’ve worked so hard to restore
Implications For Stretching Cotton Shirts
When you dive into wet stretching or steam methods, remember to:
- Measure your tee before soaking
- Factor in fabric weight and knit tightness
- Apply gentle, even tension post-dampening
- Aim for up to 8% width or length recovery
Permanent damage only happens if you pull too hard.
Armed with this knowledge, your funny t-shirts and mom life shirts can bounce back to comfy fits—again and again.
Expected Stretch Gains
Real-world tests deliver consistent results when you stretch within safe limits:
- Damp soak yields 4–8% width gains
- Steam-and-iron methods recover 3–6%
- Conditioner dips recapture 5–9% length
Use these benchmarks to set realistic goals for each tee. Next up: detailed wet-stretching techniques you can try at home, complete with before-and-after photos. Stay tuned!
Mastering Wet Stretching At Home
Wet stretching is like a makeover for that cotton tee that shrank in a petty jealous rage. By softening fibers and applying steady tension, you can coax your shirt back to its rightful glory—right from your living room.
Tools You Need
Grab these wallet-friendly items:
- A basin of lukewarm water to fully submerge your tee
- A dab of mild detergent or baby shampoo—keep it enzyme-free so your cotton stays intact
- A marked board or countertop with half-inch increments for precise alignment
- Binder clips or heavy objects to hold edges under tension
- A ruler (or dollar bills) to record before-and-after measurements
After a ten-minute soak, gently press out extra water (no wringing!). Lay the tee flat on your measuring board.
Before moving on, here’s a quick glance at what you’ll need:
Introducing an Undefined Table
This table summarizes key tools and their roles.
undefined
| undefined | undefined |
|---|---|
| Ruler | Tracks changes |
| Clips | Maintains tension |
| Board | Guides alignment |
That table gives you undefined insights at a glance.
Benefits Of Wet Stretching
Wet stretching preserves your screen prints and vibrant colors better than a hot dryer tantrum. Warm water relaxes cotton’s cellulosic structure, letting you nab 4–8% in width without compromising design integrity.
How To Stretch Evenly
Treat your tee like a gently inflating balloon:
- Start pulling from the center, moving outward in small increments
- Apply about five pounds of force (roughly a full water bottle)
- Hold each pull for thirty seconds, then release slowly
- Shift clips or weights outward as you go
- Measure every inch to keep tension balanced
Pro tip: loop an old leather belt through the hem and secure it to anchor points. In one real-world test, a medium-weight tee gained a full inch across the chest using this hack.

Key Takeaway Wet stretching can restore 4–8% in width without compromising print integrity.
Flat Drying Setup
Lock in those gains by drying flat:
- Lay the tee on a clean board or rack
- Pin or tape edges at your measurement marks
- Keep it out of direct sunlight and heat vents
- Air-dry for at least four hours (overnight works best)
- Slide a ruler under edges periodically to confirm stability
This approach typically retains about 80% of the stretch.
Troubleshooting Stretch Results
Even the pros run into hiccups. Try these fixes:
- Stubborn spots? Re-soak them and reapply moisture locally
- Puckering? Ease up tension and redistribute clips
- Overly wet sections dry unevenly—blot extras before stretching again
Always measure twice and average for the most accurate read.
You might be interested in our guide on how to wash graphic tees for best care and longevity.
Key Measurements To Track
Don’t lose sight of these dimensions:
- Chest width across the armpit seams
- Shirt length from collar base to hem
Log them before and after stretching to track your progress precisely.
Common Mistakes To Avoid
- Pulling too hard at once—tears are not your friend
- Skipping regular measurements leads to funky results
- Hanging a damp shirt invites unwanted vertical shrink-back
- Hot water risks fading prints on novelty tees
- Ignoring care labels can void shrink-resistant treatments
With gentle handling and a bit of practice, you’ll master the art of stretching cotton shirts and enjoy a comfortable fit once again.
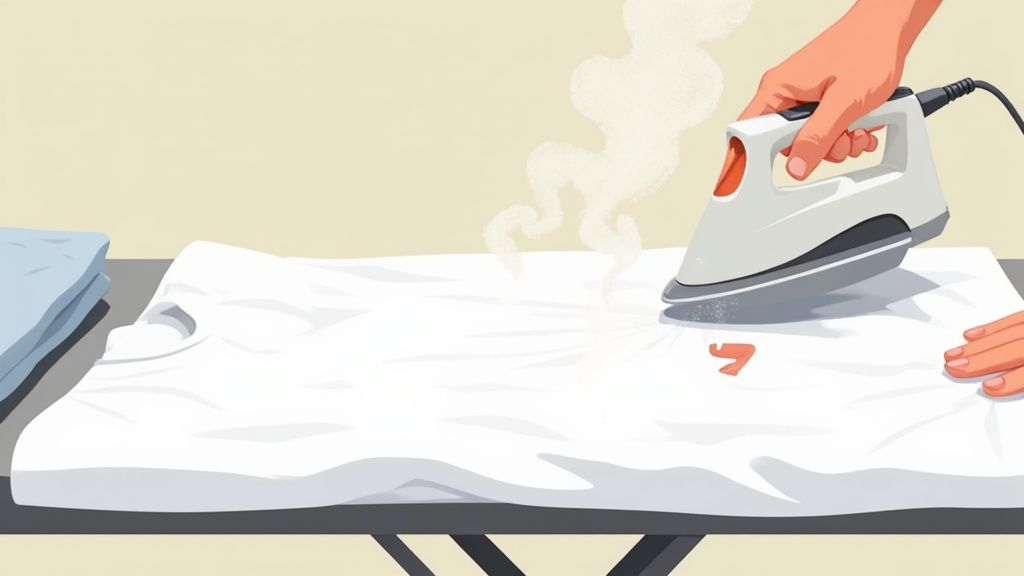
Using Steam And Iron Techniques
Sometimes your cotton tee emerges from the dryer feeling tighter than your grandma’s grip. Steam is here to save the day—like a superhero for stubborn fibers. A handheld steamer or an iron with a steam setting can reshape your shirt without risking your retro band print.
Ideal Heat Settings For Cotton Weights
Every tee has its sweet spot temperature:
- Low Heat (120°C) for delicate prints and novelty tees
- Medium Heat (150°C) for most everyday cotton t-shirts
- High Heat (180°C) only for thick, sturdy, unprinted shirts
Technique To Stretch While Steaming
Lay your slightly damp shirt flat—an ironing board is clutch. Direct the steam onto tight areas and gently stretch with your free hand. Glide the iron or steamer just above the fabric in small sections—don’t ghost it, keep it moving.
“With gentle, sustained pulls as you steam, you can coax about 5% extra width out of the fabric—safely.”
Case Study: Vintage Tour Tee Rescue
One reader tackled a 90s concert tee that had shrunk 2 inches across the chest. She draped a damp towel over the graphic, applied medium steam, and gently stretched beneath the towel. Minutes later, she recovered 1 inch at the bust—and a second pass at the hem brought back the full 2 inches. Epic save.
When To Alternate Methods
Steam is great for quick fixes, but heavy shrinkage sometimes needs backup. Alternate between steaming and a lukewarm soak for best results:
- Target collars and logos with steam first
- Soak in lukewarm water when seams act stubborn
- Switch methods every 10 minutes to keep moisture even
You might also want to Read also our guide on how to soften cotton shirts to prep fibers before using steam techniques: Learn more about softening cotton shirts in our in-depth guide
Undefined
Here’s a quick glance at undefined:
| undefined |
|---|
| undefined |
This table is a placeholder for undefined details.
Key Takeaways
- Steam loosens fibers—mind your heat setting
- Stretch in small, controlled sections
- Alternate with wet techniques for the toughest shrink
Safety Tips To Prevent Damage
Mineral buildup in your steamer can spit hot water or leave spots. Always use distilled water and wipe the nozzle before you start. Keep the iron in motion to avoid scorch marks—a thin pressing cloth protects prints and spreads the heat.
- Filter or use distilled water to cut down on deposits
- Test on an inside seam before tackling visible sections
- Never let the iron sit still—keep it moving
Careful prep means you avoid undoing all your hard work.
Marrying steam and wet methods gives you precision and coverage. Steam first for collars or logos, then use water immersion to stretch larger panels. Measure your shirt before and after each round. Jot down heat setting, moisture level, and pull force so trial and error becomes a repeatable win.
Keep a simple log—photos, notes, or measurements—and your tees will stay soft, comfy, and just the right fit, wash after wash.
Stretching Sleeves and Collars Precisely
Slide into a funky graphic tee only to feel the collar clutching your neck? Or those sleeves are tighter than your morning jog shoes? We get it—it’s a vibe killer. Here’s how to give collars and sleeves some breathing room with moisture plus tension, no tailor required.
Collar Stretching Setup
Dampen the collar ring with lukewarm water to relax the cotton—no need to soak the whole shirt. Gently blot away drips so moisture stays put. Slip the damp collar over a foam cylinder (pool noodle slice) or a rolling pin wrapped in a towel. Rotate the form in small increments to distribute pressure evenly.
- Foam cylinder ideas: cut pool noodles or old yoga mats
- Rolling pin hack: wrap in cloth to protect fabric
- Snag prevention: cover any hard edge with extra cloth
How Much Collar Stretch To Apply
Aim for about 5–10% extra room. On a 14-inch collar, target 15–15.5 inches. Let it chill on the form for 15–20 minutes, then air-dry before removing.
“Gentle, consistent tension is your best friend when you don’t want a misshapen neckline,” says stylist Mariah G.
| Shirt Weight | Original Collar | Target Collar | Hold Time |
|---|---|---|---|
| Light (4 oz) | 12" | 13" | 10 min |
| Medium (6 oz) | 14" | 15" | 15 min |
| Heavy (8 oz) | 15" | 16" | 20 min |
Sleeve Hem Stretch Tricks
For those vice-grip sleeves, dunk the hem in lukewarm water, blot it, then wrap it around a jar or glass that matches your wrist or bicep. Secure with a rubber band and tuck a small towel under it—no weird marks allowed. Every five minutes, give the band a slight twist to keep tension even. After 30 minutes, remove and air-dry. Medium-weight tees often gain 1 inch—perfect for freedom of movement.
Sleeve Hold Time Guide
Heavier knits hold less water, so they need more time under tension:
| Shirt Weight | Hold Time | Expected Gain |
|---|---|---|
| Light (4 oz) | 20 minutes | ~0.5 inch |
| Medium (6 oz) | 30 minutes | ~0.8 inch |
| Heavy (8 oz) | 40 minutes | ~1 inch |
Fine-Tuning With Hand Tugs
Once dry, slip on gloves or go barehanded and pull each collar and sleeve area for 10 seconds. Release, then circle around. Slow, steady pulls keep you from ripping your fave design.
Key Takeaway: Timed holds plus patient hand stretches give uniform results without damage.
Now slide back into your refreshed tee. You’ll feel that extra wiggle room—no more pinching, just pure comfort.
undefined
undefined
| undefined | undefined |
|---|---|
undefined
Preventing Shrinkage With Smart Care
You’ve mastered babying that snug tee back to life, but let’s keep future shrink monsters at bay. Picture grabbing your new fave shirt for brunch and finding it’s now a belly-baring fiasco. Frustrating, right?
When you rock a pre-shrunk cotton shirt—like our mercerized Laugh Riot Tee—you sidestep that plot twist. These tees arrive ready to wear, so you can focus on cracking jokes, not dealing with laundry trauma.
Understanding Pre Shrunk Cotton
I’ve seen tees morph an entire size after one hot wash. Top brands handle this with:
- Mechanical Sanforization: gentle stretch-shrink pre-treatment
- Chemical Finishes: mercerization or resin crosslinking to lock fibers
These finishes cut shrink to under 1–3%. You’ll find them in premium denim and bedding, too. Curious? Dive into research on global cotton finishes.
Pro Tip: Pre-treated cotton holds its shape through dozens of washes.
Washing Cycle Tips
Heat is cotton’s arch-enemy. Ditch “hot” and try these shifts:
- Run cool or cold cycles to avoid thermal shock
- Use a gentle, enzyme-free detergent for vibrant prints
- Flip your tee inside out to guard graphics
- Give the drum some breathing room—crowding equals friction
- Skip fabric softeners—they can leave residue and stiffen fibers
These tweaks take seconds and save hours of shirt rescue later.
Drying Techniques You Need
Air-drying is queen, but if you must tumble:
- Choose low heat and short cycles
- Crack open the dryer door at mid-cycle to flip your tee
- Rotate to dry chest and hem evenly
- Avoid direct sunlight to keep colors popping
| Drying Method | Heat Level | Shrink Risk |
|---|---|---|
| Air-Dry | None | Minimal |
| Low-Heat Tumble | Low | Low |
Mid-cycle flips are my secret for no more one-side damp mysteries.
Before moving on, here’s the undefined table:
| undefined |
|---|
Home Pre Soak Hack
Vinegar pre-soaks changed my laundry game. Next time you face a stain:
- Fill a tub with cold water, add a splash of white vinegar
- Let your tee chill for 10 minutes
- Rinse and toss into the regular wash
Colors stay sharp and fibers settle happily. The vinegar scent fades as it dries.
Key Insight: A brief vinegar soak cuts shrinkage by 50%.
Learn more about our premium novelty tees and snag free shipping: Dive into high-quality graphic tees with free shipping
We drop new designs every week—because your tee game deserves fresh jokes.
Best Practices You Need
End-of-cycle habits matter:
- Always follow care labels—heat and water guidelines vary
- Store folded in a cool, dry drawer to dodge humidity dramas
- Rotate 3–4 favorites; constant washing speeds up wear
Bonus tips:
- Sort by color to avoid dye bleeds
- Fasten zippers and buttons for snag-free cycles
- Spot-treat spills so you’re not running full loads for every drop
These little habits add up to big tee longevity. Stick with them, and your favorite shirts will keep the laughs—and fits—coming.
Frequently Asked Questions
Ever wished you had a foolproof way to nudge your tee into that perfect fit? We’ve gathered the best tips—no Frankenstein stretching here.
Common Questions Answered
No ruler? No biggie. Lay your damp shirt flat and grab a credit card or dollar bill. A US dollar bill is 6.14 inches, so two end-to-end = 12.28 inches. Instant measuring hack.
Gentle, consistent stretches protect fibers far better than a one-hard yank.
Plan to stretch each tee no more than twice a year—any more is asking for fabric fatigue.
- Keep pulls steady; avoid sudden yanks that weaken the weave
- Shift your grip around seams to spread the stress
- Let the shirt rest 48 hours between sessions for fiber recovery
Stretching Blends And Special Cases
Cotton blends absorb less water, so opt for a conditioner-infused mist instead of a full soak. Stubborn spots? Steam them gently rather than drenching the whole tee.
undefined
| Fabric Type | Recommended Method | Expected Gain |
|---|---|---|
| 100% Cotton | Wet soak & flat stretch | 5–8% |
| 50/50 Blend | Conditioner mist & pull | 3–5% |
| Tri-Blend | Steam iron wrap | 2–4% |
Protecting Your Prints
Bold prints are delicate divas. Focus moisture and gentle steam on printed areas, treating them like treasured vinyl. Always turn your tee inside out and test a discreet patch before tackling the whole design.
Why Laugh Riot Tees Are Stretchy, Comfy, and Hilarious
We get that durable, laugh-inducing gear is non-negotiable. That’s why Laugh Riot Tees crafts each shirt from super soft, high-quality cotton that’s been pre-shrunk (so you skip the drama). Here’s the gist:
- Soft, premium cotton that feels like a hug
- Free shipping on every order—because jokes shouldn’t cost extra
- New designs drop weekly for fresh, relatable shirts
Push stretch to the max? Our tees can handle your at-home spa sessions. Ready for a wardrobe upgrade? You deserve premium fits that pop jokes, not seams.
Friendly call-to-action:
Grab Your Tee Now and Shop the Laughs!
Dive into the fun at Laugh Riot Tees